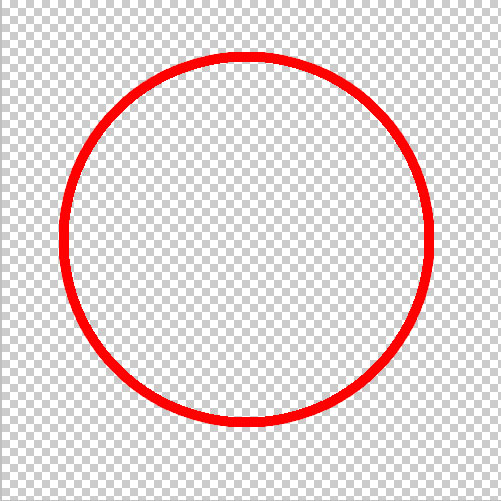
Making a simple circular ring in Photoshop may be a headache to newbies but for many of those who have done it, it is got to be one of the easiest things to do using the software. To make a circular ring, you don’t need to use the brush tool or the pencil tool because it will surely end up a messy circle or not a slick one.
To make a beautiful circular ring, you need to use the Ellipse Tool. This tool can be found together with the Rectangle Tool, Polygon Tool, Line Tool, etc. The shortcut key is “U” and you can change from the different available tools in the tool set by holding “Shift” and pressing “U”.
Using the Ellipse tool in your Photoshop document, left click on the first point going to the end point until you are satisfied with the diameter of your circle. If you want to make a perfect circle, hold “Shift” before clicking and dragging the mouse.
After you make the circle (any color), click on the Fx button (Layer Style) and a drop-down menu will appear.
Then choose stroke. There will be a pop-up window showing all the layer styles but the Stroke effect will be chosen. Here, you can experiment the size, color, opacity, etc.
After you hit OK, you will see that your circle has now a stroke on it.
To remove the green circle and retain the fill to make our simple circular ring, change the Fill to 0%.
After you make the fill to 0%, you will now see your simple circular ring.
You can also do this simple trick using the polygon, rectangular, line, rounded rectangle and custom shape tools. This is a bit tricky at first but once you’ve done it the first time, it will take you only a few seconds on your second try.
This page is last updated on


 Mark Anthony Maranga is an Educator-Parent to his 3 Homeschooling Kids. He sells


